push up form guide
Push Up Form Guide: How to Do Better Reps, Avoid Common Mistakes, and Progress Safely
A practical push up form guide with clear cues, common mistakes, and beginner-to-advanced progressions you can use in any workout plan.

Push Up Form Guide: Build Better Reps From the First Rep
If you want a simple upper-body exercise that builds strength without equipment, the push-up is hard to beat. This push up form guide breaks down the setup, the lowering phase, the press, and the most common mistakes so you can get more from every rep.
Good push-up technique matters because the exercise is only useful when you can keep your body aligned and repeat the movement with control. The goal is not just to do more reps. The goal is to do cleaner reps that train your chest, shoulders, triceps, and core together.
In this guide, you’ll learn how to set up a standard push-up, how to modify it if you are not ready for full reps yet, and how to progress once the movement feels solid. 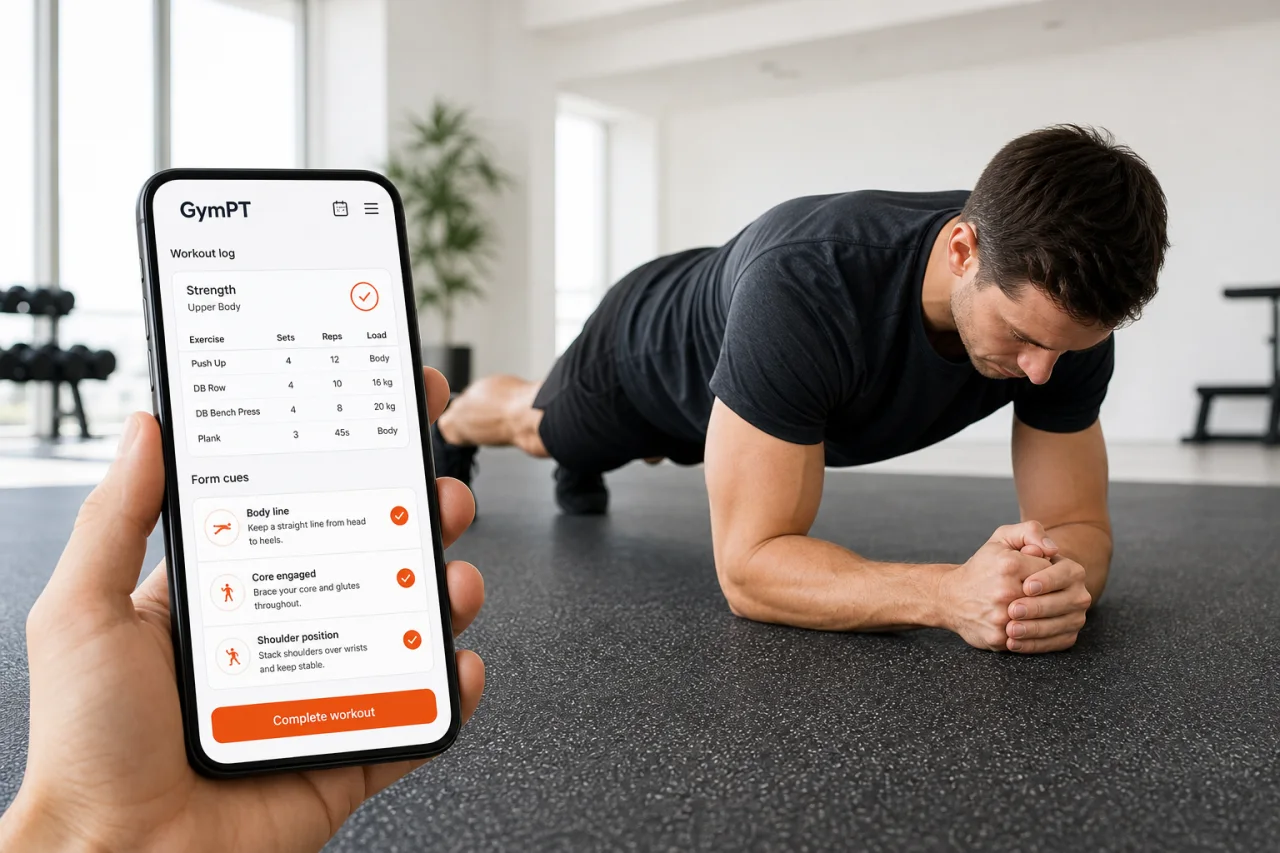
How to do a standard push-up
Start in a high plank with your hands slightly wider than shoulder-width apart. Your shoulders should be stacked over or just in front of your wrists. Keep your legs straight, squeeze your glutes, and brace your core so your body forms one long line from head to heels.
- Set your hands: Place your palms flat on the floor with fingers spread for stability.
- Lock in your body line: Tighten your abs and glutes so your hips do not sag or rise too high.
- Lower with control: Bend your elbows and bring your chest toward the floor while keeping your neck neutral.
- Press back up: Drive the floor away until your elbows are extended without locking hard at the top.
A helpful cue is to think: head, ribs, and hips move together. If one part drops faster than the others, the rep usually gets sloppy.
What a good push-up should feel like
A clean rep should feel controlled through the whole body, not just in the arms. You should feel your chest, triceps, shoulders, and core working together. If your lower back is taking over, your hips are probably dropping. If your shoulders feel jammed forward, your hand position or elbow angle may need adjustment.
Common push up mistakes to fix first
Most push-up problems come from rushing the rep or losing body tension. Fix these issues before you try to add more volume.
- Hips sagging: This usually means your core is not braced enough. Tighten your abs and glutes before you descend.
- Butt too high: If your hips stay elevated, the movement becomes easier but less effective. Lower your body as one unit.
- Elbows flaring too wide: Letting the elbows shoot out can make the rep feel unstable. Aim for a more natural angle that lets your shoulders stay controlled.
- Half reps: Cutting the range short may let you do more reps, but it reduces the training effect. Lower as far as you can while keeping form.
- Head jutting forward: Keep your neck neutral and look slightly ahead of your hands, not straight down at your nose.
- Rushing the tempo: Fast reps often hide weak positions. Slow down and own the lowering phase.
If you only change one thing, change this: stop the set when form breaks. A smaller number of clean reps is better than a bigger number of messy ones.
Push-up modifications for beginners
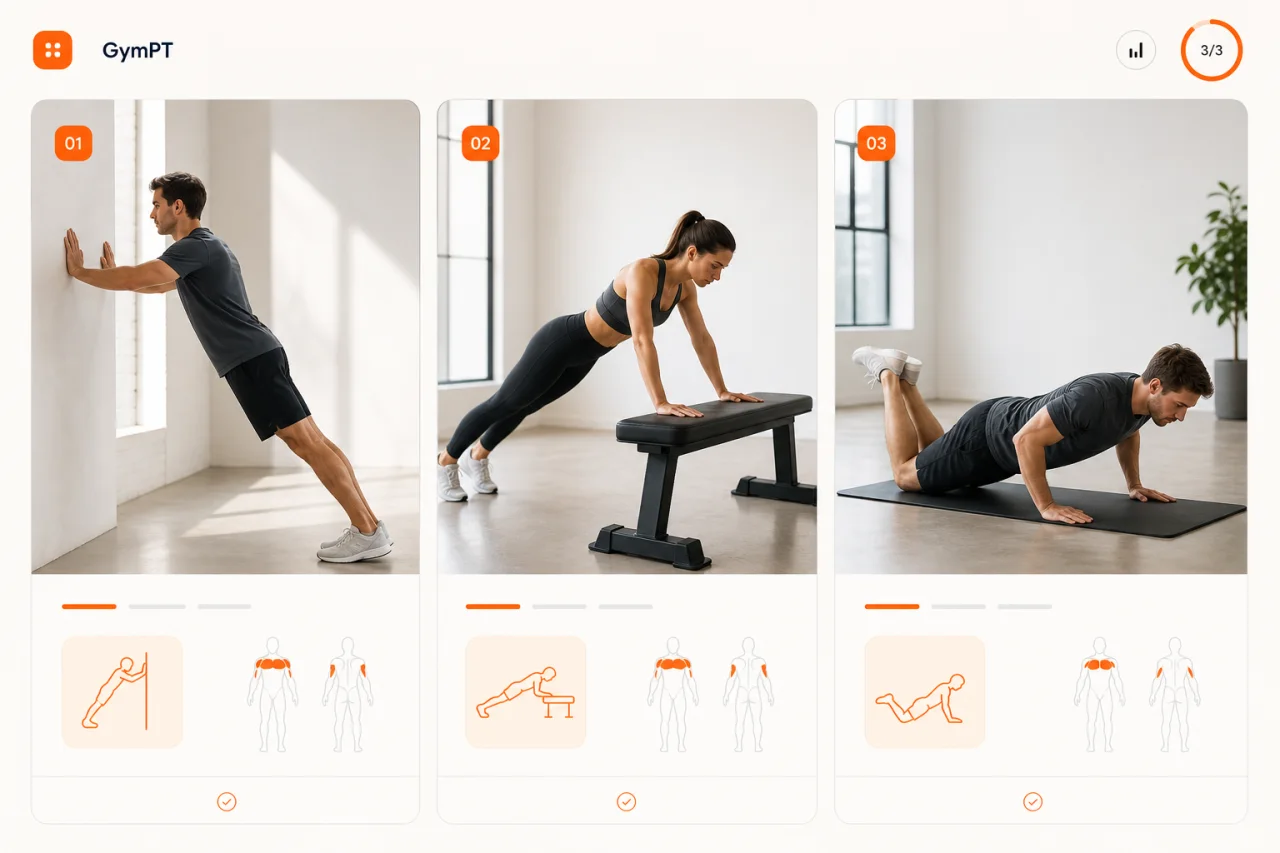
If a floor push-up is too hard right now, use a version that lets you keep perfect alignment. Harvard Health notes that push-ups can be modified by changing body angle, hand placement, and speed, which makes them useful at many fitness levels.
- Wall push-ups: Best for true beginners or warm-ups.
- Incline push-ups: Use a bench, box, or sturdy counter to reduce load.
- Kneeling push-ups: Good for building pressing strength while keeping a similar pattern.
- Tempo push-ups: Lower slowly to improve control and time under tension.
Choose the hardest version that still lets you keep a straight body line and smooth reps. That is usually the right starting point.
When to move to the next variation
Move up when you can complete multiple sets with steady control, no hip drop, and no shoulder shrugging. If your last reps look different from your first reps, stay at the current level a little longer.
How to make push-ups harder without losing form
Once standard push-ups feel solid, you can progress in a few simple ways. Harvard Health and Mayo Clinic both emphasize that proper form matters more than chasing difficulty, so increase challenge only when technique stays consistent.
- Slow the lowering phase: Try a 3- to 5-second descent.
- Add a pause: Hold briefly near the bottom without collapsing.
- Increase range of motion: Use push-up handles or elevated hands if needed for comfort and control.
- Use feet elevation: This shifts more load toward the upper chest and shoulders.
- Increase total sets: Add volume before you add flashy variations.
For most people, the smartest progression is boring but effective: better reps, then more reps, then harder reps.
How many push-ups should you do?
There is no universal number that fits everyone. A better target is to do as many quality reps as you can while keeping your form clean. Harvard Health specifically recommends stopping when form breaks and focusing on steady progress over time.
If you are training for strength and muscle, you can use push-ups as part of a broader upper-body plan instead of treating them as a one-off test. That makes it easier to track progress across weeks and avoid stalling.
Push-up alternatives if the floor version hurts
If push-ups bother your wrists, shoulders, or lower back, do not force the standard version. Use a regression that lets you train the same pattern safely.
- Incline push-ups: Reduce load and often feel friendlier on the shoulders.
- Neutral-grip push-up handles: Can reduce wrist extension for some people.
- Dumbbell floor press: A useful horizontal pressing alternative when you want more stability.
- Machine chest press: Helpful if you need a more guided pressing path.
- Plank shoulder taps: Not a replacement for pressing, but useful for core control.
If pain persists, stop the exercise and choose a different movement pattern. Training should challenge muscles, not force through joint pain.
How GymPT can help you improve push-up form
Push-ups get better when you can see your pattern, track your reps, and adjust the difficulty at the right time. GymPT can help you build a personalized plan around your current level, equipment, and weekly schedule.
- AI coach chat: Get form cues and progression ideas when a set feels off.
- Workout tracking: Log reps, sets, and variations so you can see real progress.
- Equipment-based training: Match push-up alternatives to the gear you actually have.
- Progress insights: Spot when you are ready to move from incline to floor reps, or from floor reps to harder variations.
- Body analysis: Keep your training aligned with your broader fitness goals.
Simple push-up checklist before every set
- Hands slightly wider than shoulders
- Body in one straight line
- Core and glutes tight
- Chest lowers under control
- Elbows stay controlled, not flared wildly
- Stop the set when form breaks
If you want one rule to remember from this push up form guide, make it this: clean reps first, harder reps later. That approach builds better strength, better control, and better long-term progress.
Final takeaway
The push-up is simple, but good push-up form is not accidental. Set your body up well, keep the movement controlled, and use regressions or progressions that match your current level. That is how you turn a basic bodyweight exercise into a reliable strength builder.