push up mistakes
Push Up Mistakes: 10 Form Errors That Make Reps Harder Than They Need to Be
Push-ups are simple, but small form errors can make them less effective and more uncomfortable. Learn the most common push up mistakes, how to fix them, and what to do instead if standard reps are not ready yet.
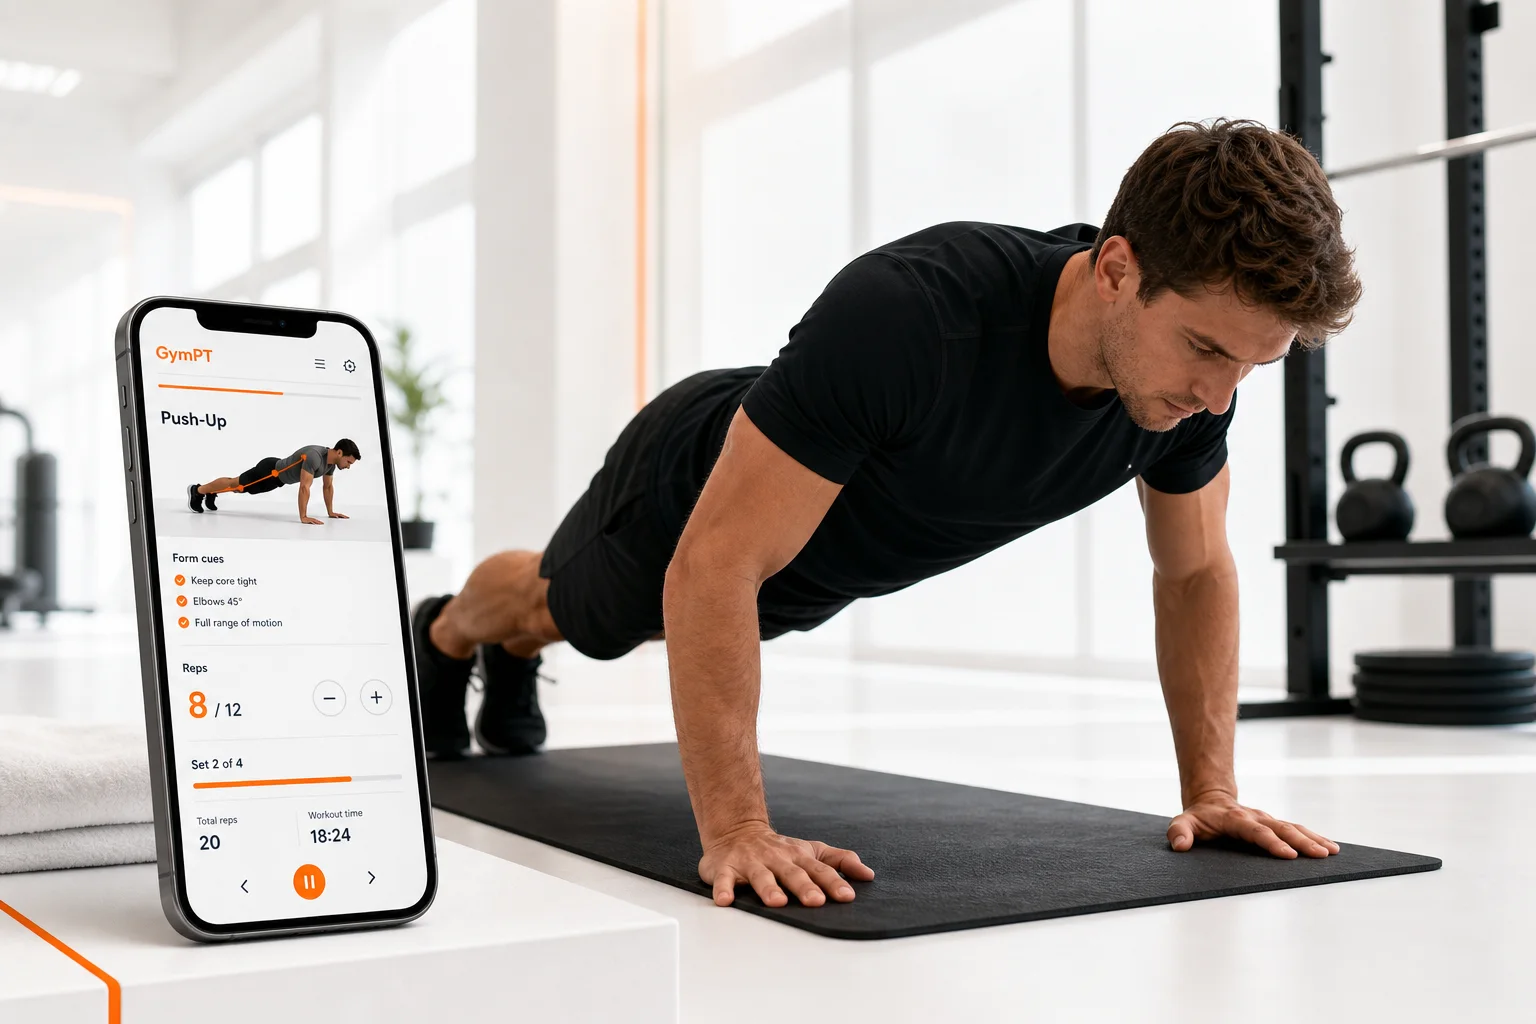
Push up mistakes that quietly limit your results
Push-ups look simple, but they reward precision. The best reps train your chest, shoulders, triceps, core, hips, and legs together. When form breaks down, the exercise gets harder without getting better. That is why understanding push up mistakes matters: cleaner reps usually mean better strength gains, better control, and less unnecessary strain.
This guide breaks down the most common errors, the cues that fix them, and the easiest alternatives if standard push-ups are not the right starting point yet. If you want a simple rule, use this one: keep every rep controlled, aligned, and repeatable.
What a good push-up should look like
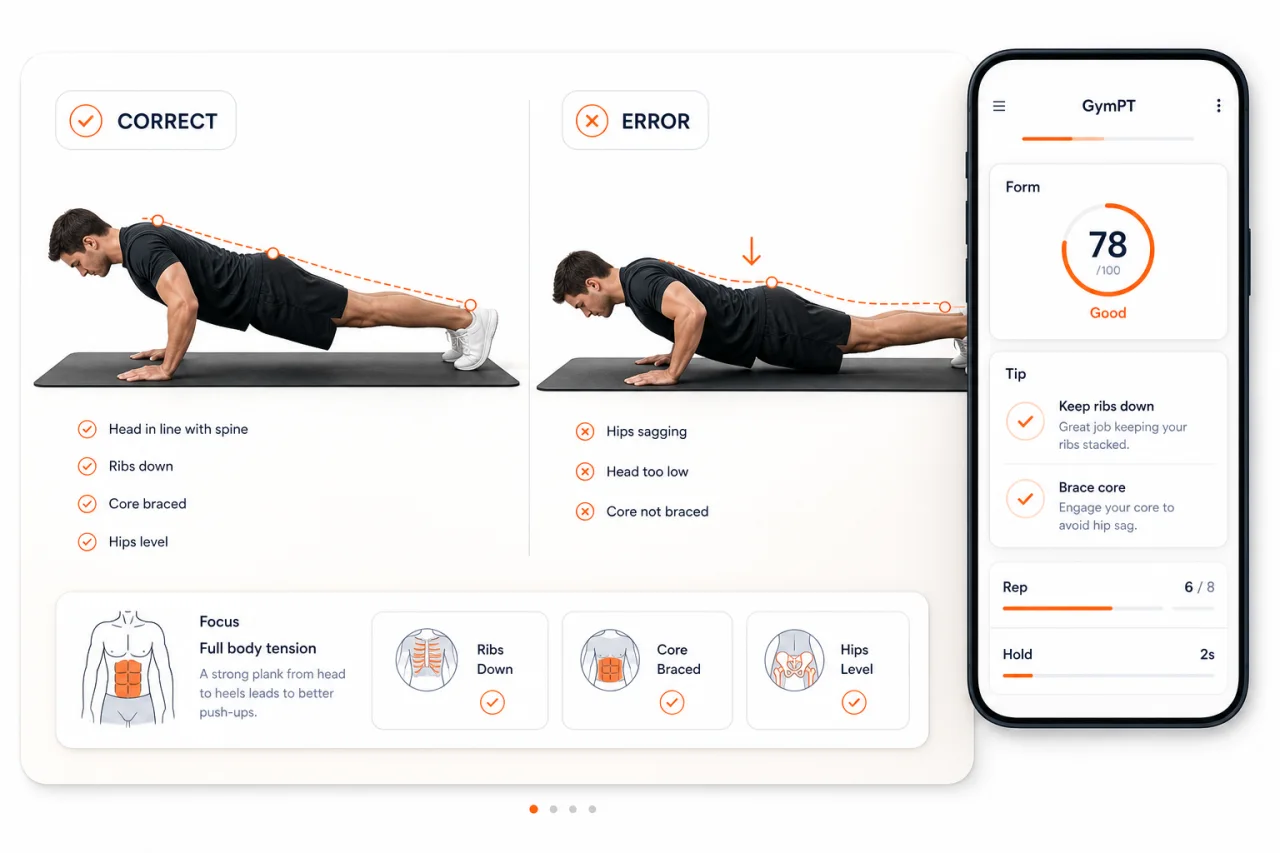
A solid push-up starts in a straight plank with hands under or just outside the shoulders, feet together or slightly apart, and the body moving as one unit. Lower under control until the elbows reach about 90 degrees, then press back up without letting the hips sag or the head lead the movement. Harvard Health and NHS guidance both emphasize a straight body line, controlled lowering, and gradual progression with easier versions when needed.
Think of the push-up as a moving plank. If your plank is unstable, your push-up will be too.
The 10 most common push up mistakes
- Letting the hips sag
When the midsection drops, the lower back takes over and the rep stops looking like a push-up. Fix it by squeezing your glutes, bracing your abs, and keeping your ribs stacked over your pelvis.
- Piking the hips too high
Some people avoid sagging by raising the hips too much. That shifts load away from the chest and shoulders. Keep your body in one long line from head to heels.
- Hands placed too far forward
If your hands drift ahead of your shoulders, the rep often becomes shoulder-dominant and unstable. Start with hands under the shoulders or slightly wider, then adjust only if it improves comfort and control.
- Elbows flaring straight out
Wide elbows can make the movement feel harsh on the shoulders. A more controlled elbow path, angled roughly 30 to 45 degrees from the torso, is usually easier to repeat well.
- Cutting the range of motion short
Half reps can be useful in some training plans, but if you are avoiding depth because the movement is too hard, you are probably missing the main benefit. Lower as far as you can while keeping the torso tight and the shoulders in control.
- Leading with the head
If your chin reaches for the floor first, the neck is doing work that should belong to the torso and arms. Keep your gaze slightly ahead of your hands and move your body as one piece.
- Dropping too fast
Falling into the bottom position removes tension and makes the rep less useful. Lower with control, then press up with intent.
- Locking into a sloppy top position
At the top, some lifters shrug, overextend the low back, or lose core tension. Finish tall through the shoulders without collapsing into the joints.
- Letting the wrists collapse
Pain or discomfort in the hands and wrists often comes from poor hand pressure. Spread the fingers, press through the whole palm, and try a slightly elevated surface if needed.
- Chasing reps instead of quality
More reps are not better if each one gets uglier. Harvard Health notes that progress should be measured by maintaining good form and gradually doing more over time, not by forcing sloppy volume.
How to fix push-up form fast
Use these cues during your next set:
- “Ribs down, glutes tight.” This helps keep the torso from sagging.
- “Push the floor away.” This encourages a strong press without shrugging.
- “Body moves together.” Your chest, hips, and shoulders should rise and lower at the same speed.
- “Control the descent.” A slower lowering phase makes it easier to stay organized.
- “Stop one rep before form breaks.” That is often the smartest rep in the set.
If you want a simple self-check, film one set from the side. Look for a straight line from head to heels, steady elbow path, and consistent depth on every rep.
Push-up alternatives that build the same pattern
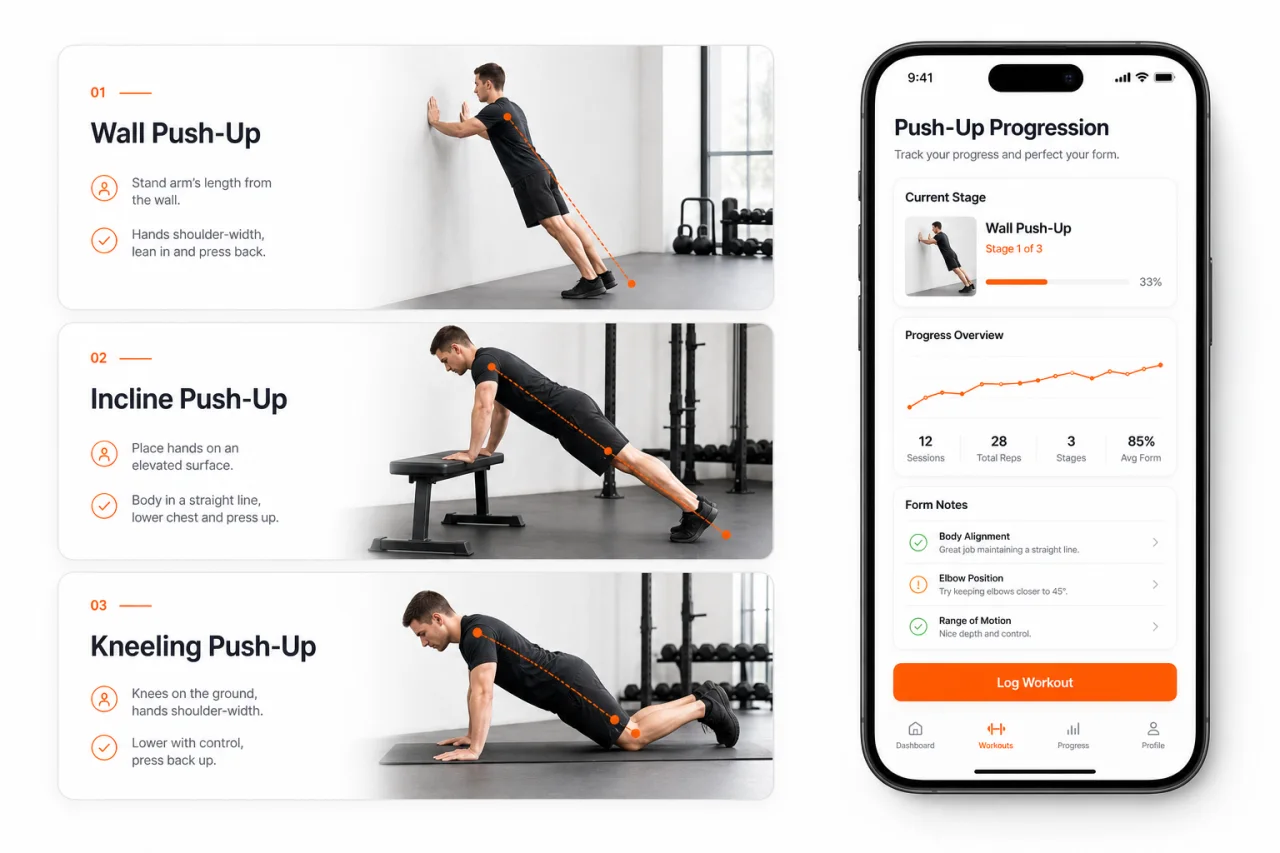
If standard push-ups are not clean yet, regress the movement instead of grinding bad reps. Harvard Health and NHS both recommend easier variations such as wall push-ups and kneeling push-ups, then progressing gradually as strength improves.
- Wall push-ups — best for beginners who need less bodyweight load.
- Kneeling push-ups — a useful bridge between wall work and floor push-ups.
- Incline push-ups — hands on a bench, box, or sturdy surface to reduce load.
- Tempo push-ups — slower lowering to improve control and tension.
- Shoulder tap push-ups — a harder option once standard reps are stable.
Choose the version that lets you keep the same body line and elbow control for every rep. That is the version that will actually move you forward.
When push-up mistakes mean you should scale the exercise
If you cannot keep your hips level, your elbows controlled, or your neck relaxed, the exercise is probably too hard at the current variation. That is not failure. It is useful information.
Scale the movement if you notice:
- your lower back takes over first,
- your shoulders shrug toward your ears,
- your reps get shorter as the set goes on,
- your wrists or shoulders feel irritated by every set,
- you can only complete reps by twisting or rushing.
A better variation lets you practice the same pattern with better mechanics. That is how you build a stronger push-up, not just a harder one.
A simple push-up progression you can actually follow
Use this progression if you want cleaner reps without guessing:
- Wall push-ups for 2 to 3 sets of 8 to 15 reps.
- Incline push-ups for 2 to 4 sets of 6 to 12 reps.
- Kneeling push-ups for 2 to 4 sets of 5 to 10 reps.
- Standard push-ups for 2 to 5 sets of high-quality reps.
- Tempo or shoulder tap variations once standard reps are stable.
Move up only when you can keep the same torso position, depth, and control across the whole set. That is a better test than simply surviving the movement.
How GymPT can help you clean up push-up form
GymPT can turn this advice into a plan that fits your current level. Use the AI coach chat to ask which push-up variation matches your strength, track your reps over time, and use body analysis insights to spot patterns that may affect your pressing mechanics. If your equipment changes from day to day, GymPT can also adapt your plan around what you actually have available.
That matters because the best push-up plan is the one you can repeat consistently. Good form plus steady progression beats random max-effort sets every time.
Quick checklist before every set
- Hands under or slightly outside shoulders
- Body in one straight line
- Core braced, glutes tight
- Elbows controlled, not flared
- Chest lowers with control
- Full-body tension stays the same on every rep
If you can check all six boxes, you are probably doing the movement well enough to progress.
Final takeaway
The biggest push up mistakes are usually not dramatic. They are small leaks in position, tension, and control. Fix those leaks, and push-ups become a much better strength exercise. Start with the easiest version you can perform well, keep the reps clean, and progress only when your form stays solid.
That is the simplest way to get more from every push-up.